4. Managing Clients#
A client is the central record in Retirement Planner. Every projection, income source, strategy, and report belongs to a client. You can manage as many clients as your subscription allows — Personal subscribers can have one client, Pro subscribers up to two, while Advisor subscribers have no limit.
4.1 Adding a Client#
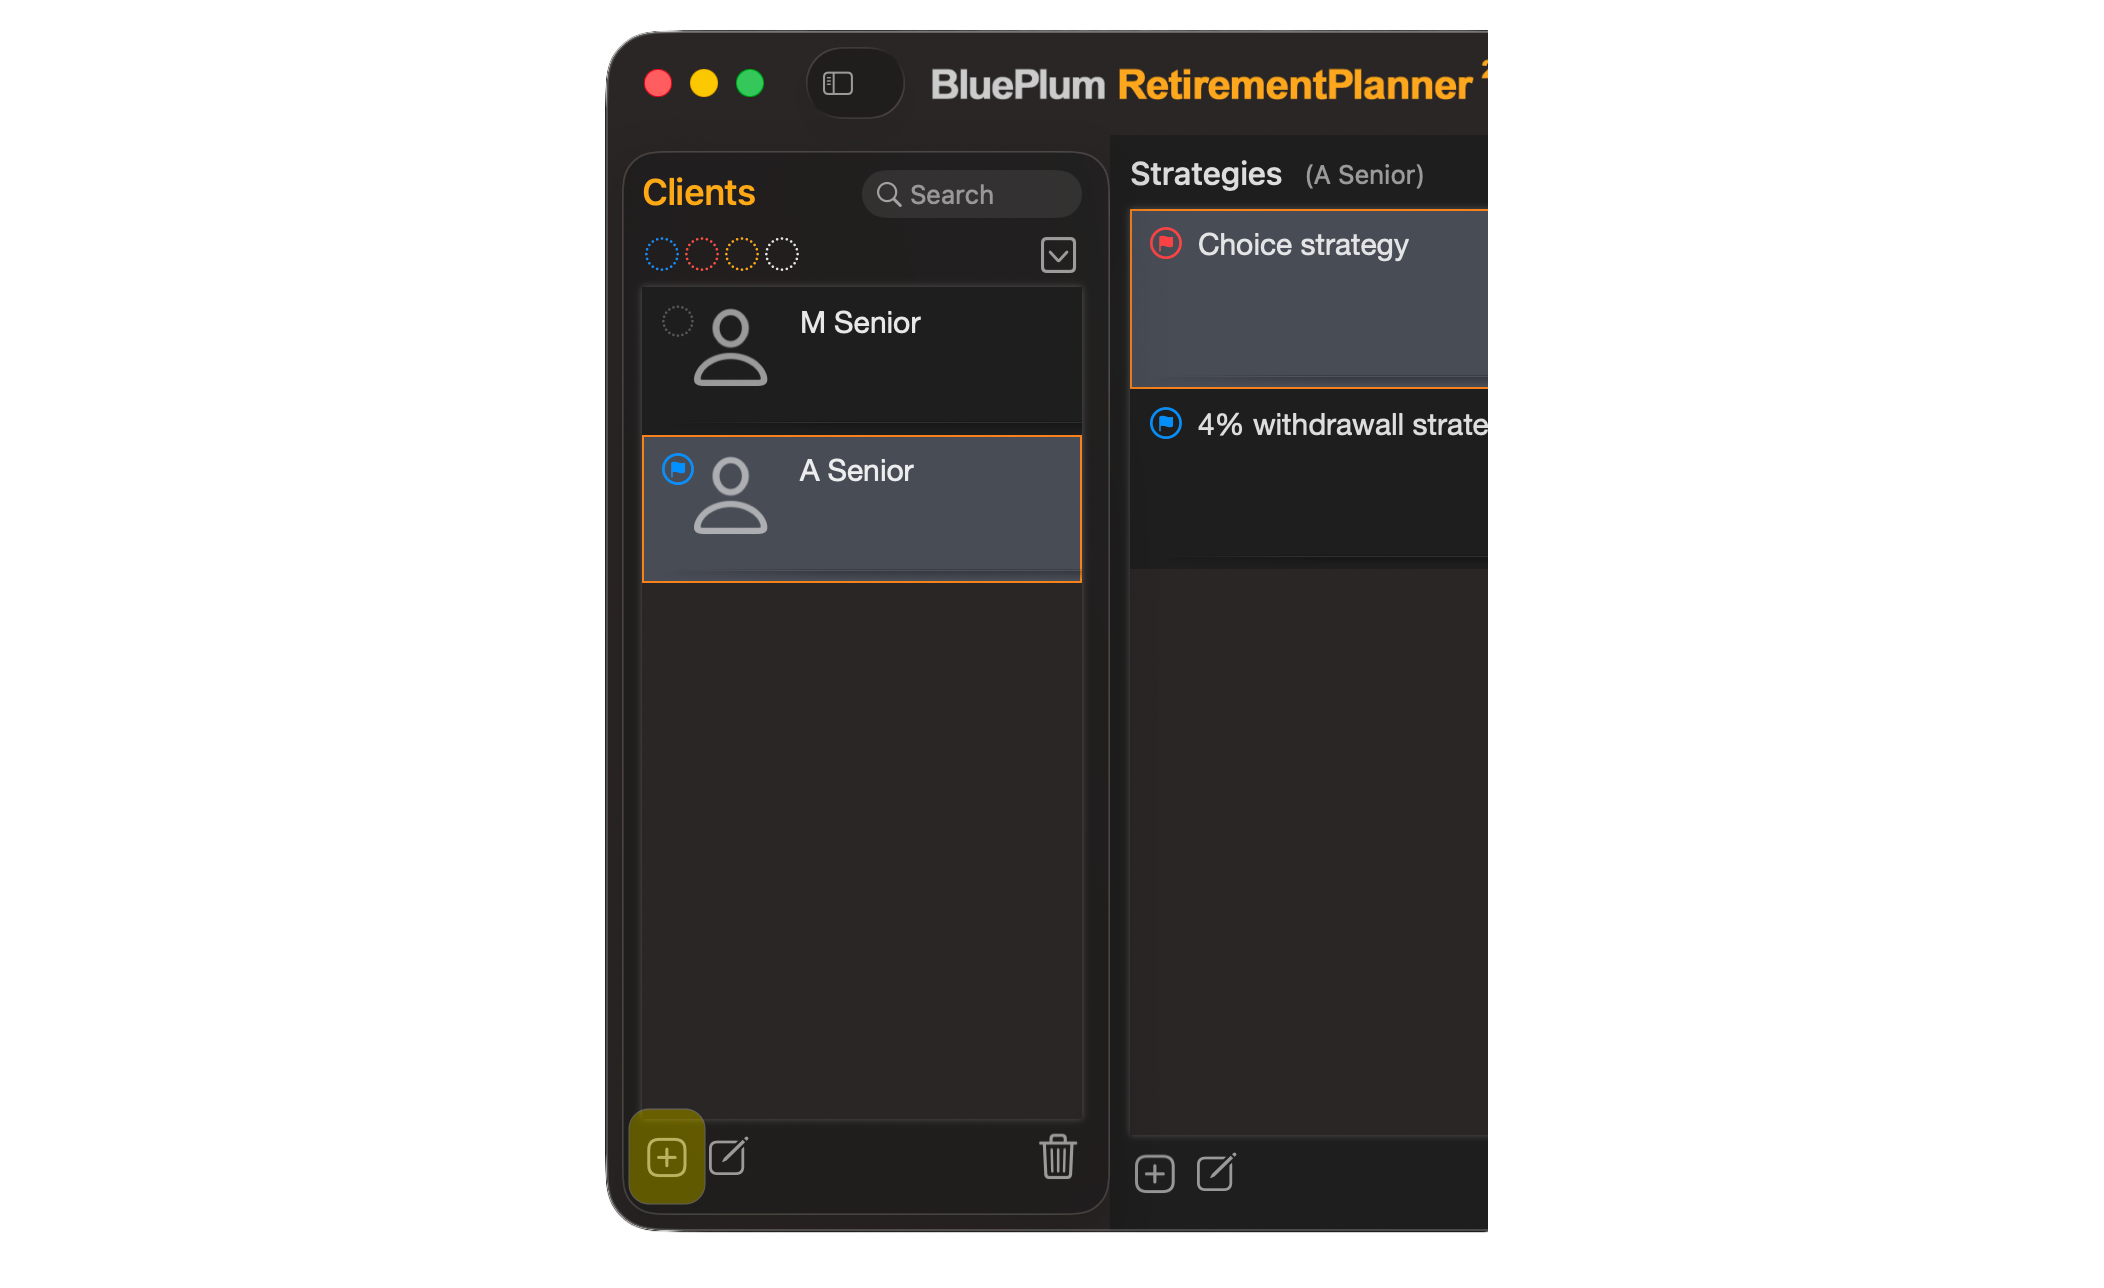
Click the + button at the bottom of the sidebar to add a new client. The client form opens immediately in the main content area. Fill in the profile fields (described in section 4.2 below) and the income source tabs as needed.
The new client appears in the sidebar as soon as you begin entering their name. There is no separate Save button — all changes are saved automatically as you type.
Subscription limit: If you have reached the maximum number of clients allowed by your plan, the + button will be disabled and a prompt will offer you the option to upgrade.
4.2 Client Profile Fields#
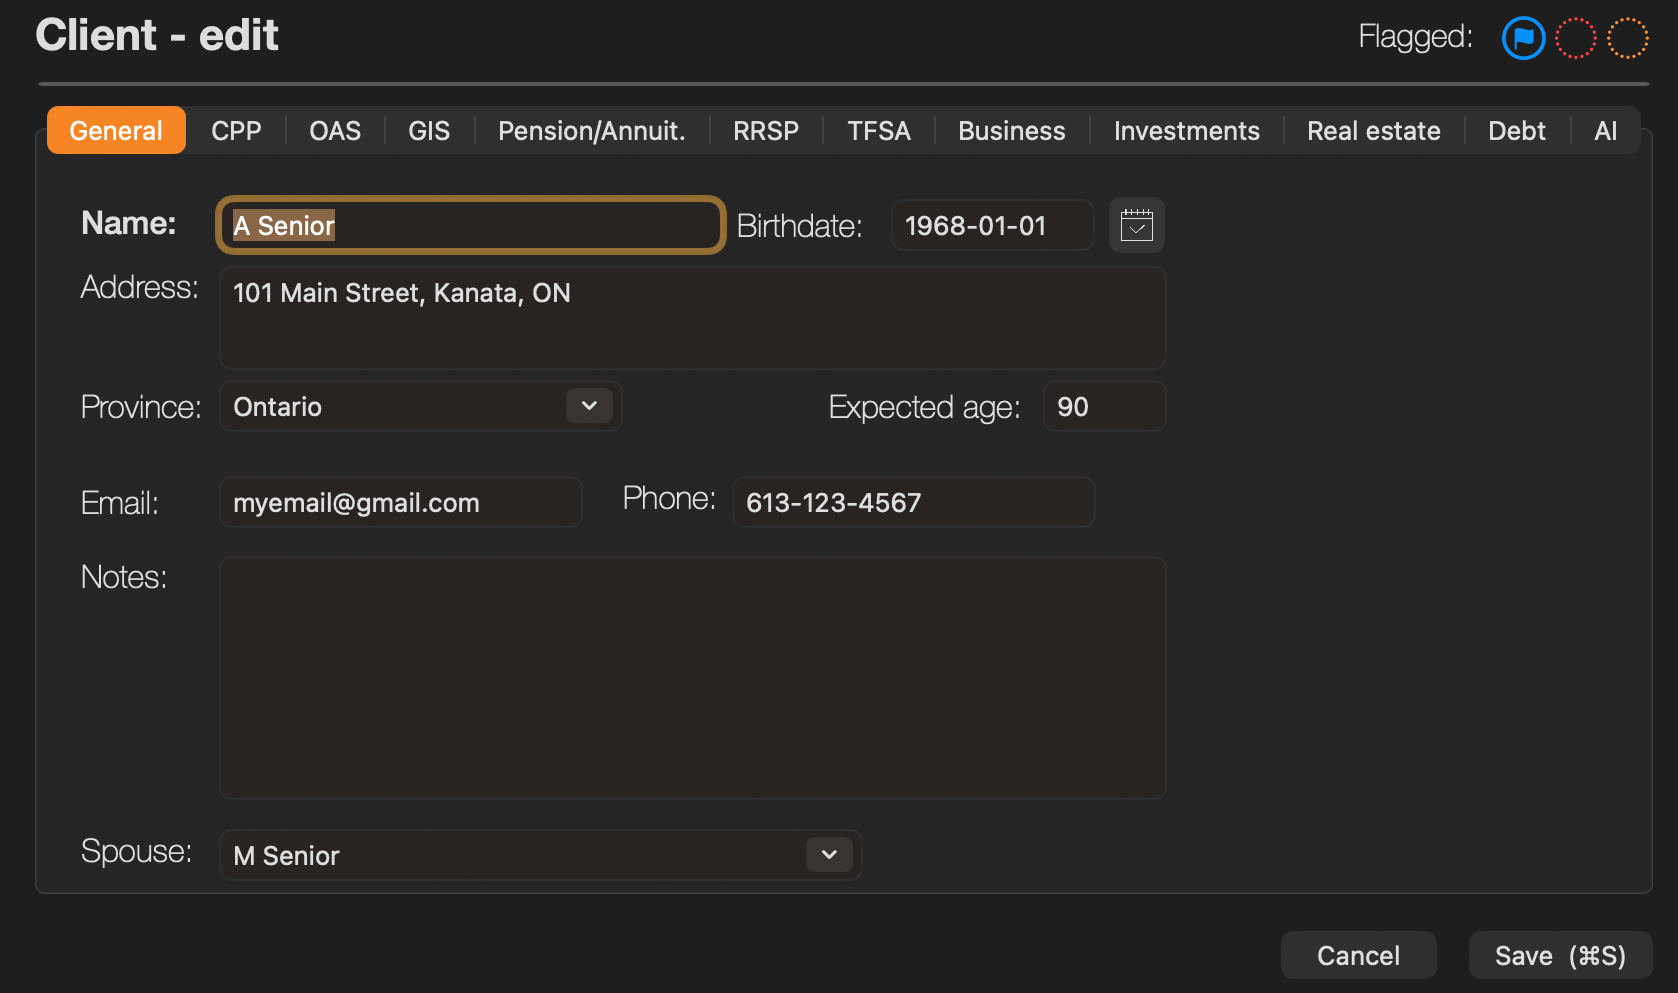
The profile section at the top of the client form defines the core parameters that drive all projections for that client.
Flagged You can flag a client, and a flag will show up in the client list as well.
Name The client’s full name. Displayed in the sidebar, on charts, and on the cover page of the PDF report.
Birthdate Used to calculate the client’s current age and to anchor all projections to the correct calendar years. For example, entering a birthdate of January 1, 1965 means age 65 corresponds to the year 2030 in all projections.
A birthdate is required for both partners to use Household mode. If either birthdate is missing, Household mode cannot be enabled.
Province The province where the client lives — or plans to live — in retirement. This drives all provincial income tax calculations including tax brackets, basic personal amount, age credit, pension credit, surtax (Ontario), and health premiums (Ontario). Select the correct province before viewing tax estimates.
Expected Age The age at which the projection ends — the planning horizon. This is not a prediction; it is a conservative ceiling to ensure the plan is stress-tested over a sufficiently long retirement. Most planners use 90 or 95.
Email Client’s email.
Phone Client’s phone.
Notes General notes you want to add about the client.
Spouse Select the spouse account if you want to be able to select houshold projections (see below for more information).
4.3 Editing and Removing Clients#
To edit a client’s profile, simply click their name in the sidebar and modify any field directly in the form. Changes take effect immediately and the income chart updates in real time.
To remove a client, right-click their name in the sidebar and select Delete Client, or use the corresponding menu bar option.
Warning: Deleting a client permanently removes all their strategies, income data, and history. This action cannot be undone.
If a client is linked to a spouse, deleting one client does not automatically delete the other — the spouse link is simply cleared.
4.4 Setting Up a Spouse or Partner#
Household mode — which combines two clients’ projections and optimises pension income splitting — requires both clients to be set up individually and then linked as spouses.
To link two clients as spouses:
- Ensure both clients have been added to the application with their full profile including date of birth.
- Open the first client’s profile and set Marital Status to Married / Common-law.
- A Spouse dropdown will appear. Select the second client from the list.
- Repeat the process on the second client’s profile — set their marital status and select the first client as their spouse.
Once both clients are linked, Household mode becomes available in the income chart toolbar for either client. See Section 9 — Household Mode for full details.
Note: Both clients must have a date of birth entered before Household mode can be activated. If a birthdate is missing, the application will show a warning and Household mode will not enable.
 Blue Plum Software